Chill Out with a Unique Rosé Wine Slushie (Frosé) Experience
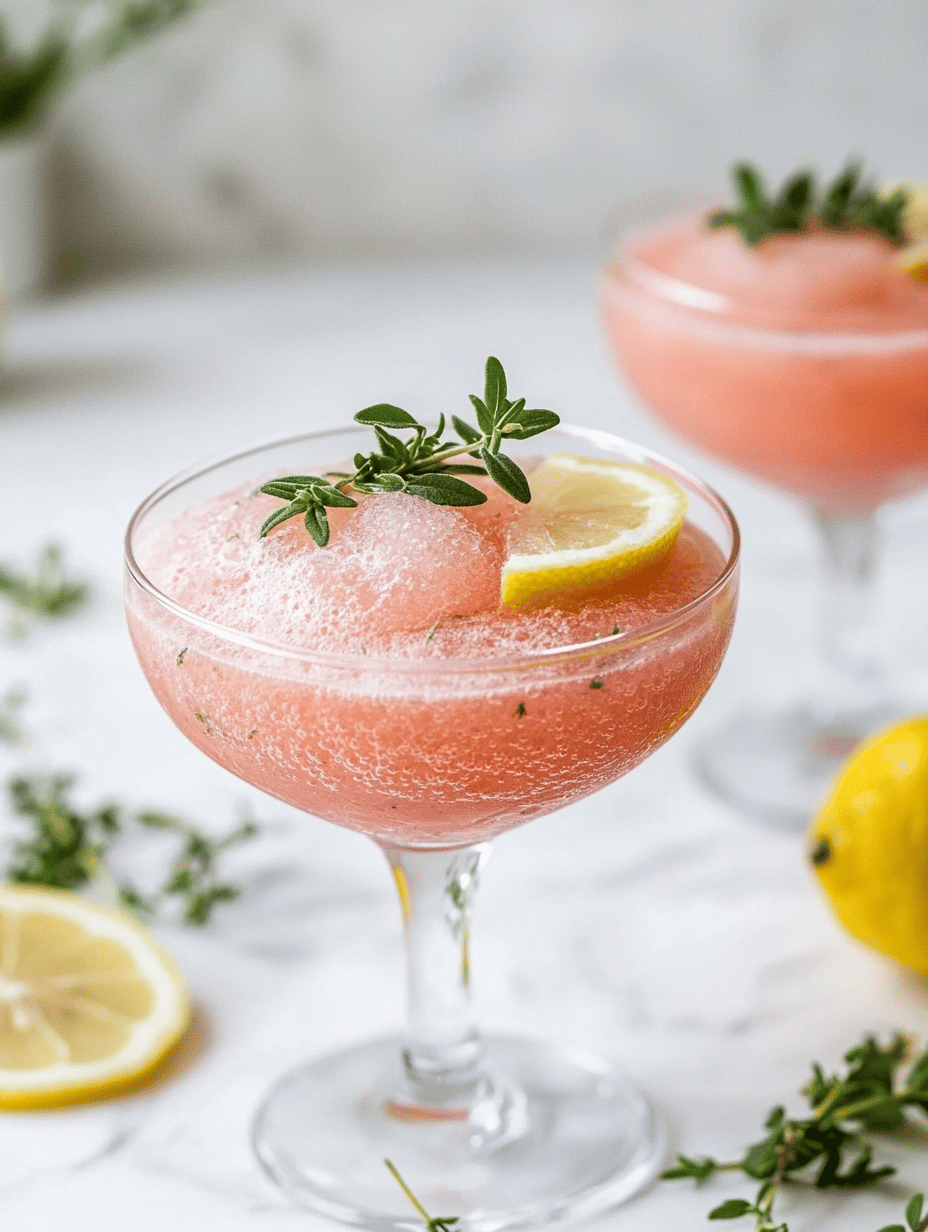
When the temperature rises and the sun is blazing, I crave something that’s both frosty and unexpectedly sophisticated. Enter the rosé wine slushie, affectionately known as frosé, but with a twist. I love adding fresh herbs and a splash of citrus to elevate this icy treat from simple to sensational. This isn’t your average frozen … Read more