Ghoulish Halloween Deviled Egg Eyeballs That Will Spook and Delight
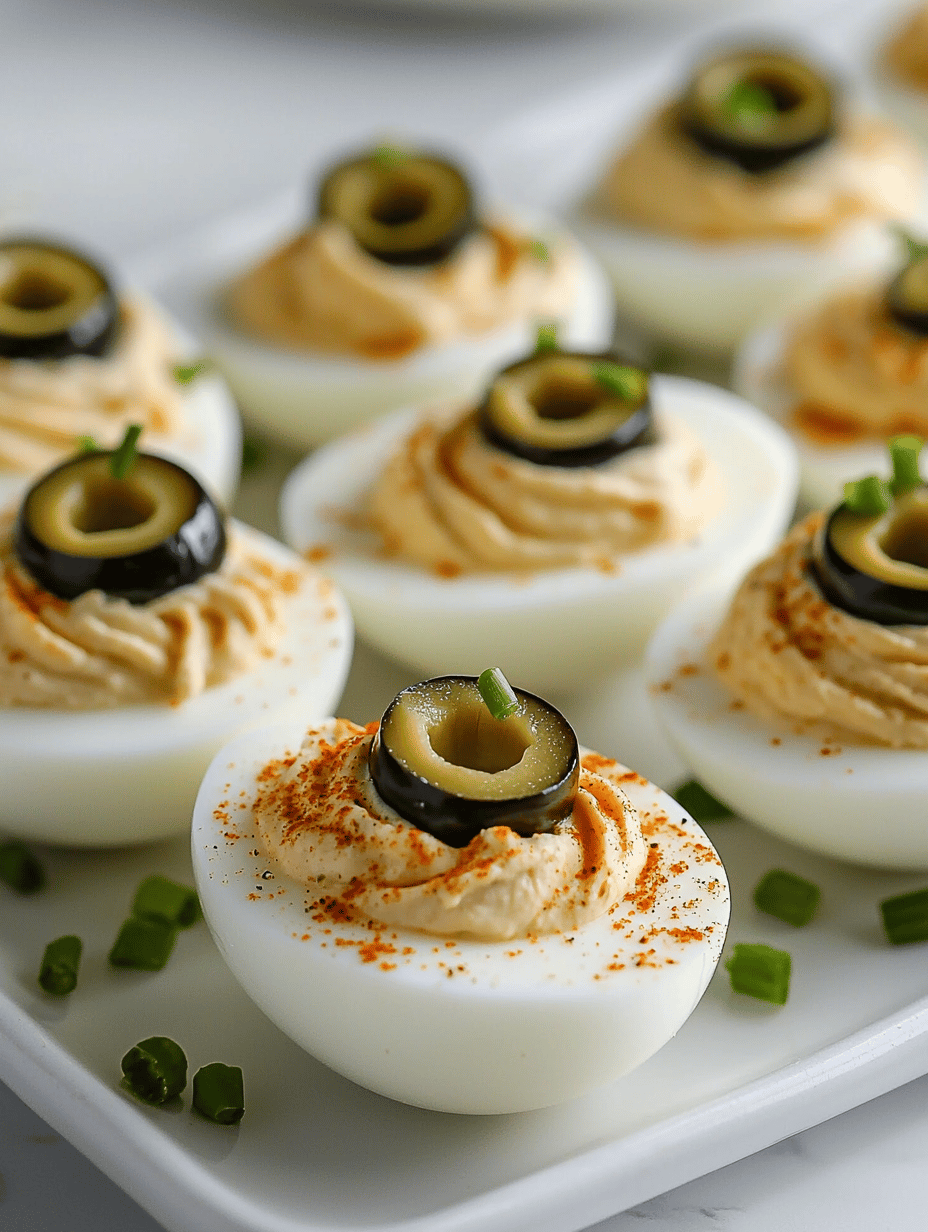
Halloween is the perfect excuse to embrace the creepy and the cute. This year, I decided to turn classic deviled eggs into eerie eyeballs that look straight out of a haunted house. The bright white yolk mixture is my secret to making them look shockingly realistic, with just a pop of color to make each … Read more