Beware the Toxic Charm: Spooky Halloween Poison Toffee Apples
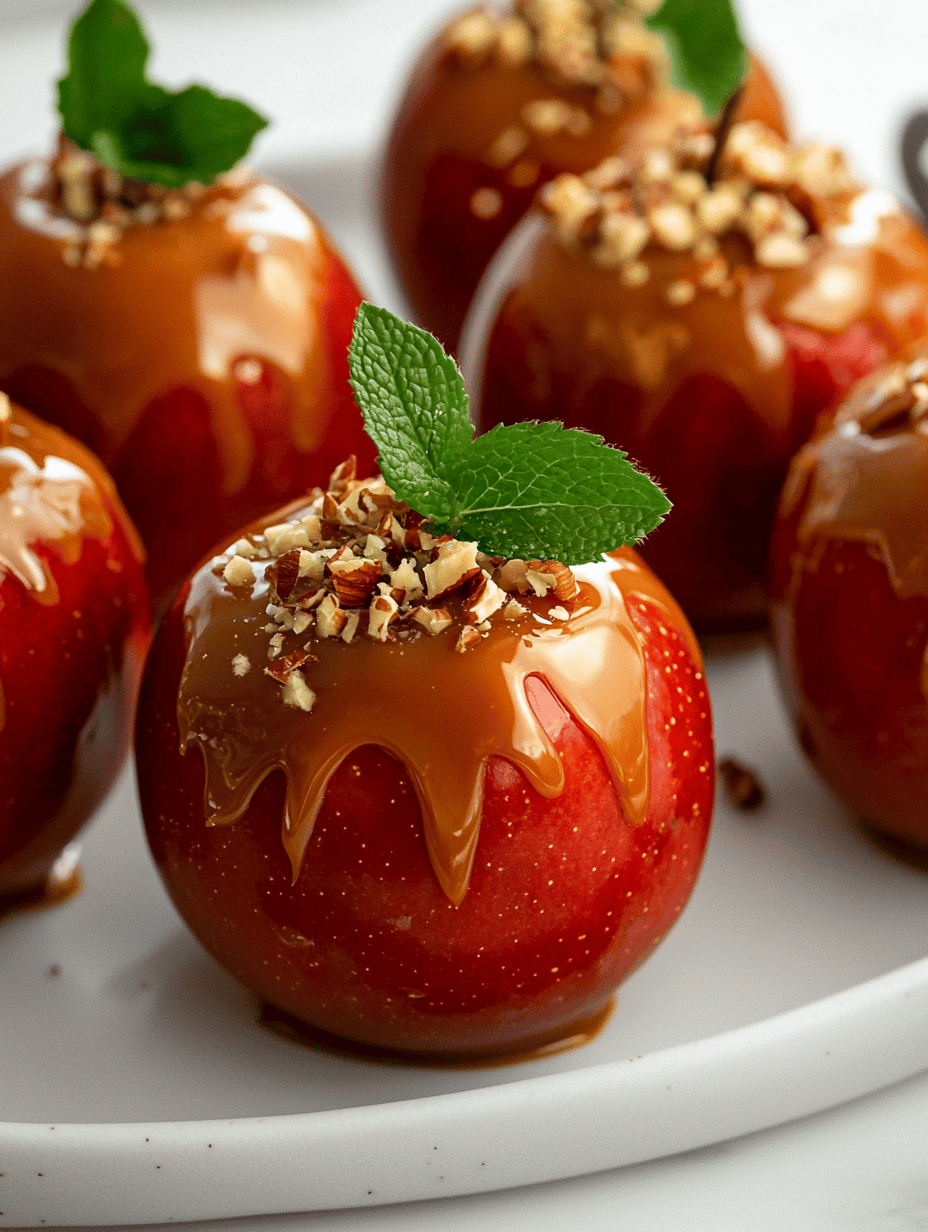
Halloween is the perfect time to indulge in treats that combine nostalgia with a twist of the macabre. This year, I decided to dive deep into the darker side of confectionery with Poison Toffee Apples, a creepy yet irresistible treat that looks like a sweet nightmare. The secret lies in a daring black caramel coating … Read more